Mon-Fri: 8am to 8pm
304 Trail One Burlington NC 27215
jon@bullcitycrawlspace.com
Installing a moisture barrier under laminate flooring is a crucial step in ensuring the longevity and performance of your floor. Moisture barriers, also known as vapor barriers, serve multiple essential functions that protect both the flooring and the subfloor from the damaging effects of moisture. In modern home construction, where laminate flooring is a popular choice for its aesthetic appeal and durability, the role of moisture barriers becomes even more significant.
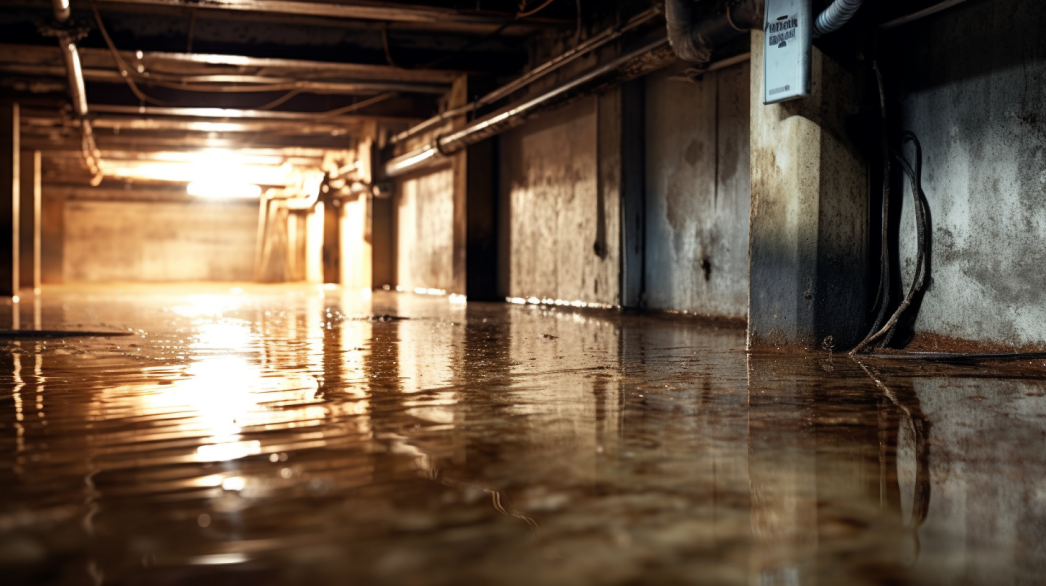
Moisture barriers under laminate flooring prevent water vapor from seeping through the subfloor and into the laminate planks. Without this protection, moisture can cause the laminate to swell, warp, and eventually deteriorate, compromising the floor's structural integrity and appearance. This is particularly important in areas prone to high humidity or where moisture is a constant concern, such as basements and kitchens.
In addition to protecting the laminate itself, moisture barriers also safeguard the subfloor. Subfloors, often made of wood or concrete, are susceptible to moisture damage, which can lead to mold growth, rot, and structural weakening. By preventing moisture from reaching the subfloor, a moisture barrier helps maintain the overall health and stability of the entire flooring system.
Furthermore, using a moisture barrier can enhance indoor air quality. Moist environments are conducive to the growth of mold and mildew, which can release spores into the air and cause respiratory issues. By keeping the subfloor dry, moisture barriers contribute to a healthier indoor environment, reducing the risk of mold-related health problems for the occupants.
Overall, the installation of a moisture barrier under laminate flooring is a vital preventative measure. It ensures the durability and longevity of the flooring, protects the subfloor from potential damage, and contributes to a healthier indoor environment. In modern home construction, understanding and implementing the use of moisture barriers is essential for maintaining the quality and performance of laminate flooring
Preparing for Installation
Gather Necessary Tools and Materials
Before installing a moisture barrier under laminate flooring, it is crucial to gather all the necessary tools and materials. Proper preparation ensures a smooth installation process and enhances the effectiveness of the moisture barrier.
Tools:
Utility Knife: A sharp utility knife is essential for cutting the moisture barrier material to fit the specific dimensions of the flooring area. Precision is important to avoid gaps and overlaps.
Measuring Tape: Accurate measurements are vital to ensure the moisture barrier and laminate flooring fit correctly. A measuring tape helps in taking precise dimensions of the space.
Straightedge: A straightedge is useful for guiding cuts and ensuring that the edges of the moisture barrier are straight and clean.
Adhesive Tape: Specialized adhesive tape designed for use with moisture barriers is necessary for sealing seams and ensuring a continuous protective layer.
Materials:
Moisture Barrier: Choose an appropriate moisture barrier, such as plastic sheeting or specialized underlayment, to protect the laminate flooring from moisture. The type of barrier may vary depending on the specific requirements of the flooring and the subfloor conditions.
Laminate Flooring: Ensure that you have the correct amount of laminate flooring to cover the entire area, with some extra material for cuts and adjustments.
Safety Precautions
Adhering to safety precautions during the installation process is essential to prevent accidents and ensure a safe working environment.
Protective Gear:
Gloves: Wearing gloves protects your hands from cuts, abrasions, and contact with potentially harmful materials.
Safety Goggles: Safety goggles protect your eyes from dust, debris, and any splinters or sharp edges that may arise during the cutting and installation process.
Workspace Preparation:
Clean and Dry Area: Before starting the installation, ensure that the workspace is clean and dry. Remove any dust, dirt, and debris from the subfloor to provide a smooth and clean surface for the moisture barrier and laminate flooring. A dry surface is crucial to prevent any moisture from being trapped under the barrier, which could compromise its effectiveness.
By gathering the necessary tools and materials and following safety precautions, you can ensure a successful and efficient installation of the moisture barrier and laminate flooring. Proper preparation not only makes the process smoother but also enhances the durability and performance of the flooring system
Measuring and Cutting the Moisture Barrier
Measuring the Area
Accurate measurement is a crucial step in ensuring that the moisture barrier effectively covers the entire floor space without any gaps.
Accurate Measurements:
Begin by measuring the length and width of the floor space where the moisture barrier will be installed. Use a measuring tape to obtain precise measurements, and note down the dimensions. This accuracy is vital for ensuring that the moisture barrier covers the entire area without leaving any sections exposed to potential moisture infiltration.
Material Calculation:
Once you have the measurements, calculate the total amount of moisture barrier material needed. Multiply the length and width of the floor space to determine the total square footage. Consider purchasing extra material to account for any mistakes or adjustments during installation. This ensures that you have enough barrier to cover the area completely, including any overlaps required for effective moisture protection.
Cutting to Size
Cutting the moisture barrier to the correct size is essential for a precise and effective installation.
Straight Cuts:
Use a straightedge to guide your utility knife when cutting the moisture barrier material. This helps ensure that the cuts are straight and clean, which is important for creating a seamless barrier. Place the straightedge along the line where you need to cut, and carefully run the utility knife along the edge to achieve a precise cut. Accurate cuts help prevent gaps and overlaps that could compromise the barrier’s effectiveness.
Allowing Overlap:
When cutting pieces of the moisture barrier, ensure that each piece allows for at least a 6-inch overlap at the seams. This overlap is critical for preventing moisture from seeping through the joints between barrier pieces. Cut the material slightly larger than the measured dimensions to account for this overlap. Proper overlapping and sealing of seams are crucial steps in maintaining a continuous and effective moisture barrier.
By following these guidelines for measuring and cutting the moisture barrier, you can ensure a precise fit and effective protection against moisture. Accurate measurements and careful cutting are essential steps in the installation process, contributing to the overall durability and performance of the laminate flooring system. Implementing these practices helps maintain a dry and stable environment, protecting both the flooring and the subfloor from moisture-related issues.
Installing the Moisture Barrier
Laying the Barrier
Properly laying the moisture barrier is crucial to ensure effective protection against moisture.
Positioning:
Start by laying the moisture barrier over the subfloor, beginning in one corner of the room. Unroll the barrier material carefully, ensuring it aligns with the edges of the room. This systematic approach helps in maintaining control over the installation process and ensures that the entire area is covered without any gaps.
Smooth Installation:
As you lay the moisture barrier, smooth out any wrinkles or bubbles to ensure a flat and even surface. This step is important because any unevenness can compromise the barrier’s effectiveness and the installation of the laminate flooring. Use your hands or a flat tool to press down the barrier, making sure it adheres closely to the subfloor without any air pockets.
Securing the Edges and Seams
Securing the edges and seams of the moisture barrier ensures that it remains effective and in place.
Overlap Seams:
When laying down additional pieces of the moisture barrier, ensure that the edges overlap by at least 6 inches. This overlap is critical to prevent moisture from seeping through the joints where the pieces meet. Overlapping also provides a continuous layer of protection, enhancing the overall effectiveness of the barrier.
Sealing:
Use adhesive tape specifically designed for moisture barriers to seal the seams and edges securely. Apply the tape along the overlaps, pressing it firmly to ensure a tight seal. Additionally, make sure to tape around the perimeter of the room where the barrier meets the walls. This creates a completely enclosed barrier, preventing any moisture from infiltrating the subfloor and the laminate flooring above it.
By following these steps for laying and securing the moisture barrier, you can ensure a thorough and effective installation. Proper positioning, smoothing out wrinkles, overlapping seams, and sealing edges are essential practices that contribute to the barrier's performance and durability. This meticulous installation process protects your laminate flooring and subfloor from moisture damage, ensuring a long-lasting and resilient flooring system.
Installing Laminate Flooring Over the Barrier
Preparing for Flooring Installation
Before you start installing laminate flooring over the moisture barrier, it is crucial to prepare both the flooring and the installation area to ensure a smooth and successful process.
Acclimate Flooring:
Allow the laminate planks to acclimate to the room temperature and humidity levels. This step typically involves leaving the unopened boxes of laminate flooring in the room where they will be installed for 48 to 72 hours. Acclimation helps prevent expansion or contraction of the planks after installation, ensuring a more stable and lasting floor.
Layout Planning:
Plan the layout of the laminate flooring to achieve a balanced and aesthetically pleasing appearance. Start by measuring the room and determining the direction in which the planks will be laid. Typically, laminate planks are laid parallel to the longest wall or the main light source to enhance the room’s appearance. Consider using a chalk line to mark the starting row and ensure straight lines throughout the installation.
Installing the Laminate Flooring
With the moisture barrier in place and the laminate planks acclimated and layout planned, you can proceed with the installation.
Starting Point:
Begin the installation from one corner of the room, preferably the corner that is most visible when entering the room. Follow the manufacturer’s instructions carefully, as different laminate flooring products may have specific installation requirements. Place the first plank with the tongue side facing the wall, ensuring a 1/4-inch gap between the plank and the wall to allow for expansion.
Interlocking Planks:
Install each plank by fitting the tongue of the new plank into the groove of the previously installed plank at a slight angle and then pressing down to lock them together. Ensure that each plank clicks securely into place over the moisture barrier, creating a seamless and tight fit. Use spacers to maintain the expansion gap around the perimeter of the room. Continue this process, row by row, staggering the seams for a more natural look and added stability.
By following these steps for preparing and installing laminate flooring over the moisture barrier, you can ensure a successful installation that provides a durable and visually appealing floor. Proper acclimation of the planks, careful layout planning, and precise interlocking of the planks are essential practices that contribute to the overall quality and longevity of the laminate flooring system. This comprehensive approach protects your flooring investment and enhances the comfort and beauty of your home
Final Checks and Maintenance
Inspect the Installation
Once the laminate flooring is installed over the moisture barrier, conducting a thorough inspection is crucial to ensure the effectiveness of the installation and the protection it offers.
Check for Gaps:
Inspect the entire flooring installation for any gaps or exposed areas of the moisture barrier. Even small gaps can allow moisture to penetrate, compromising the barrier’s effectiveness and potentially damaging the laminate flooring and subfloor. Pay special attention to the seams and edges where pieces of the moisture barrier meet. Ensure that all overlaps are sufficient and that there are no visible openings.
Secure Edges:
Double-check that all edges of the moisture barrier are securely taped. The adhesive tape used to seal the seams and edges must be firmly applied and intact, without any signs of peeling or loosening. This ensures a continuous and effective barrier that prevents moisture from infiltrating the protected areas. Reinforce any areas where the tape appears loose or insufficient to maintain the integrity of the moisture barrier.
Regular Maintenance
Regular maintenance is essential to ensure the long-term performance and durability of both the moisture barrier and the laminate flooring.
Monitor Conditions:
Keep an eye on the humidity levels in the room where the laminate flooring is installed. High humidity can affect both the flooring and the moisture barrier’s effectiveness. Using a hygrometer to regularly monitor the indoor humidity can help you take proactive measures if levels become too high. Maintaining optimal humidity levels helps prevent moisture-related issues and prolongs the life of the flooring.
Periodic Inspections:
Regularly inspect the laminate flooring for any signs of moisture issues, such as buckling, warping, or gaps forming between planks. These issues can indicate that moisture is seeping through the barrier or that the barrier itself has been compromised. Address any problems immediately to prevent further damage. Periodic inspections should be conducted at least once a year, and more frequently in areas with high humidity or after significant weather events.
By conducting thorough final checks and maintaining a regular inspection schedule, you can ensure the continued effectiveness of the moisture barrier and the longevity of the laminate flooring. Proper maintenance practices help identify potential issues early, allowing for timely repairs and adjustments that protect the flooring and subfloor from moisture damage. This diligent approach ensures a durable, comfortable, and aesthetically pleasing flooring system that stands the test of time
FAQs
Contact Bull City Crawlspace Today!
Bull City Crawlspace will do everything we can to ensure your experience with us is excellent.
Request A FREE Estimate
Request a Free Estimate Form
Checkout Recent Post


Got a Question? We’re Here to Help.
You can arrange an appointment or make an enquiry by phone or email, orget in touch to us via our contact form.
Business Hours:
Monday - Friday 8:00 AM - 8:00 PM Saturday and Sunday: Closed
We're your local family owned, operated and licensed crawl space repair and waterproofing company.
919-724-4601
jon@bullcitycrawlspace.com
Services
NATIONWIDE LEADER
Claim you free crawl space consultation today by clicking the button below.
Contact Info
Business Hours:
Mon to Fri: 8:00am - 8:00pm